Installation Via WordPress Admin area
- Log into your WordPress admin area.
- Go to Dashboard >> Appearance >> Themes.
- Click on Add New Theme button at top.
- Now, Hit Upload Theme button at top and upload.
- Click on Activate once upload has finished.
Installation Using FTP
- Download goldy-health-cover.zip
- Extract Zip file.
- Using your FTP program, upload the non-zipped theme folder into the “/wp-content/themes/” folder on your server.
- Go to Dashboard » Appearance » Themes and find Goldy Health Cover theme from list.
- Click on Activate to active Goldy Health Cover theme.
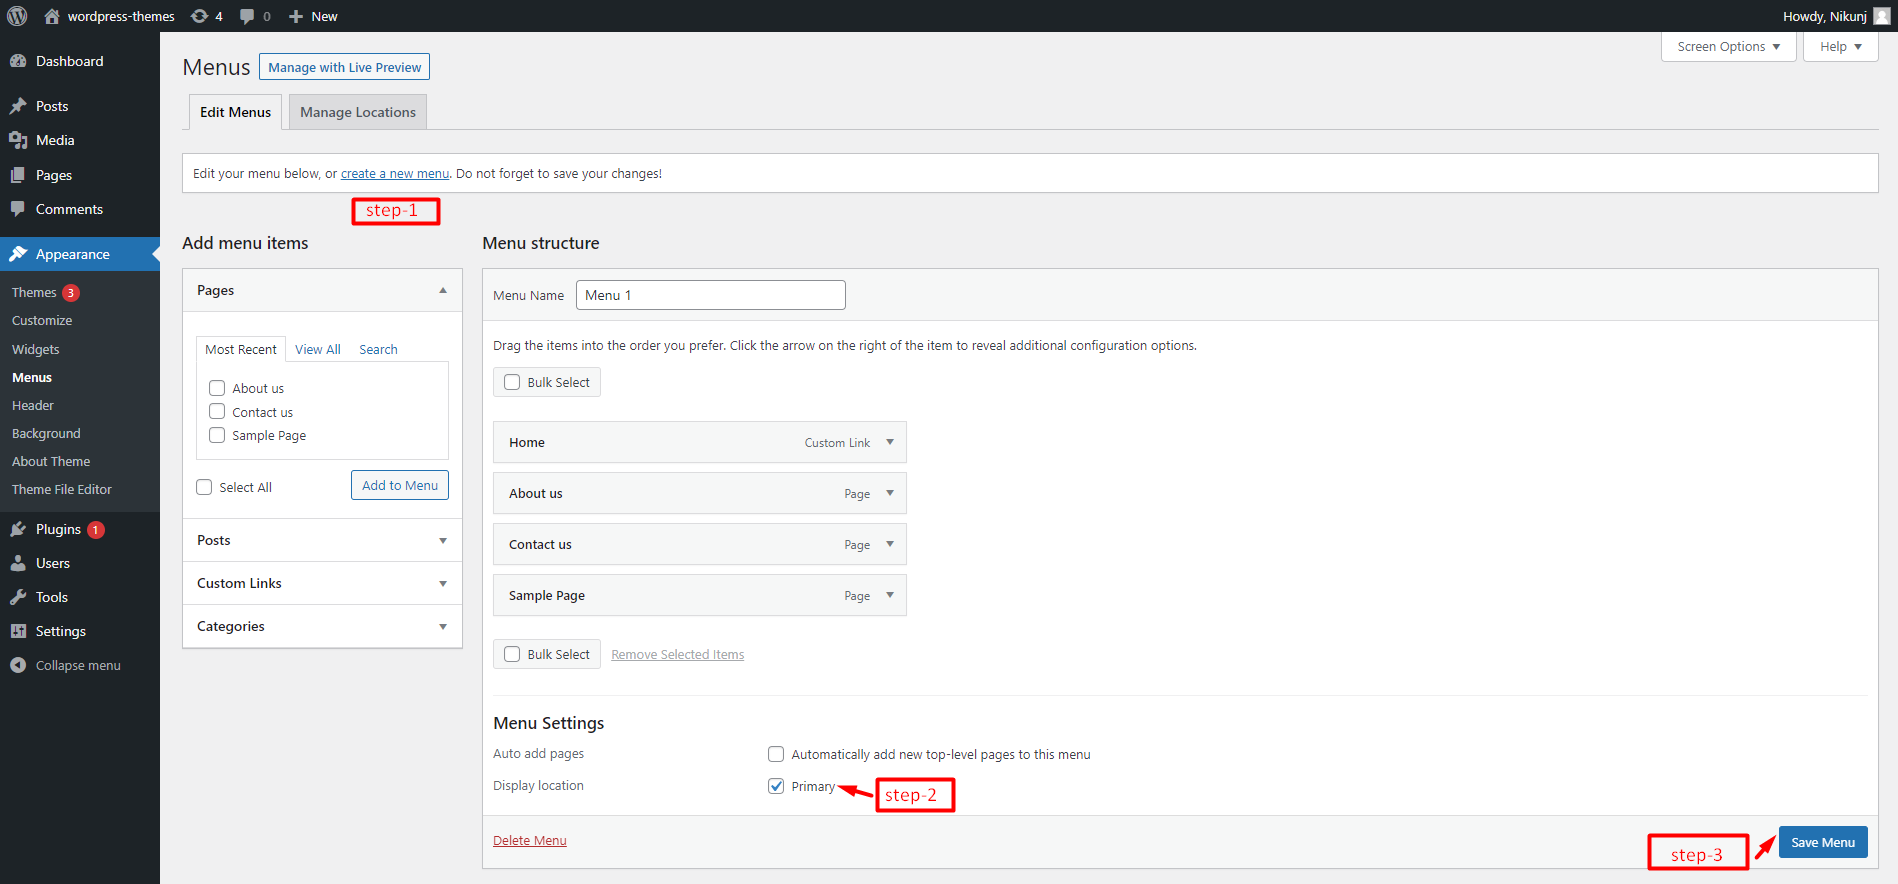
Create a new menu
- Go to Dashboard >> Appearance >> Menus.
- Click on create a new menu as show in below image.
- Enter menu name and click on Create Menu as shown in below image.
Header Settings
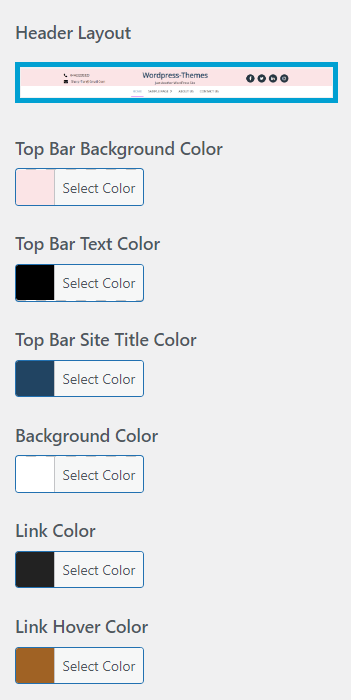
Step 1. Go to Dashboard >> Appearance >> Customize >> Header >> Header Option
- Select Header Layout
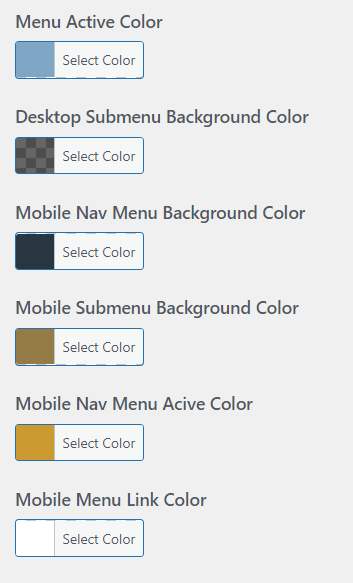
- Select Top bar-Background color, Top Bar-Text color, Background Color, Text Color, Link color and Link hover Color.
- Select Transparent Header Select in Background color, Text color and Link Color.
- select menu color, submenu color mobile in submenu color and link color.
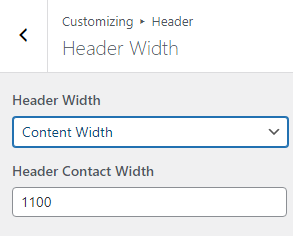
Step 3. Go to Dashboard >> Appearance >> Customize >> Header >> Header Width
- Header Width Layout in select Full Width or Content Width.
- Add Header Contact Width.
Top Bar Section
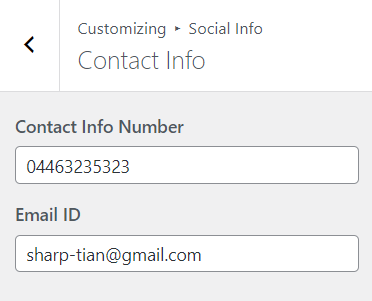
Step 1. Go to Dashboard >> Appearance >> Customize >> Social Info >> Contact Info.
- add Contact Number and Email id.
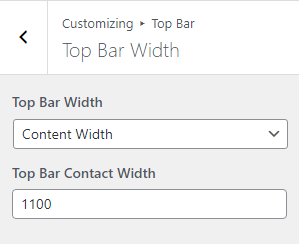
Step 2. Go to Dashboard >> Appearance >> Customize >>Social Info>> Top Bar Width
- Top Bar Width Layout in select Full Width and Content Width.
Step 3. Go to Dashboard >> Appearance >> Customize >> Top Bar >> Social Info.
Note : if this plugin Inpersttion For Theme must be installed then this Social Info use Otherwise this Social Info is not work.
- Select General Option
- Checked Social Icon.
- Add New Icon fields.
- Delete Icon fields.
- This Icon Item is Draggable.
- Add Icon and Icon Link.
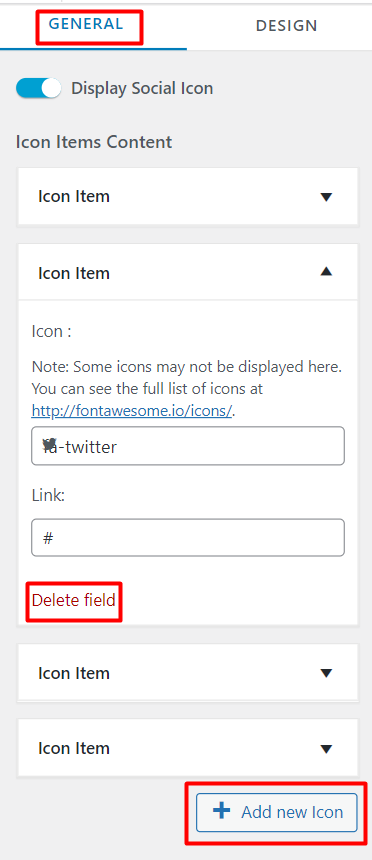
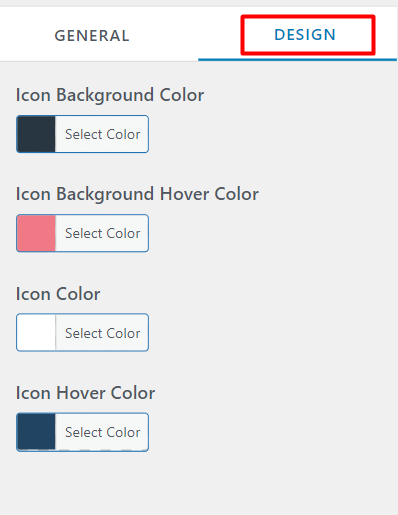
- Select Design Option
- Select Icon Background and Background Hover color.
- Select Icon Color and Icon Hover Color.
Typography
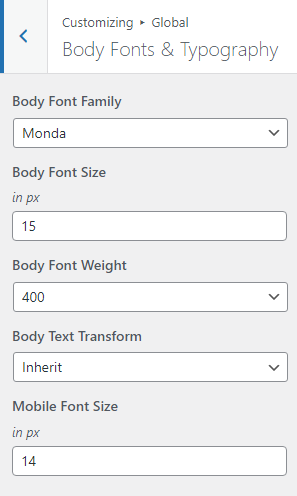
Step1. Go to Dashboard >> Appearance >> customize >> Global >> Body Fonts & Typography.
- Select Body font family, font weight and text transform
- Add Font Size
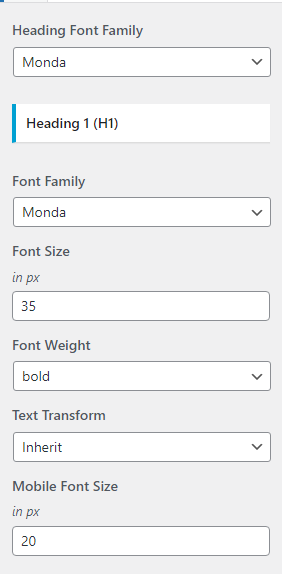
Step2. Go to Dashboard >> Appearance >> customize >> Global >> Heading Fonts & Typography.
- Select Heading Font Family
Heading 1 (H1)
- Select Font Family, Font Weight and Text Transform
- Add Font Size.
NOTE : Free Version in 5 font-family and Pro Version in multiple font-family.
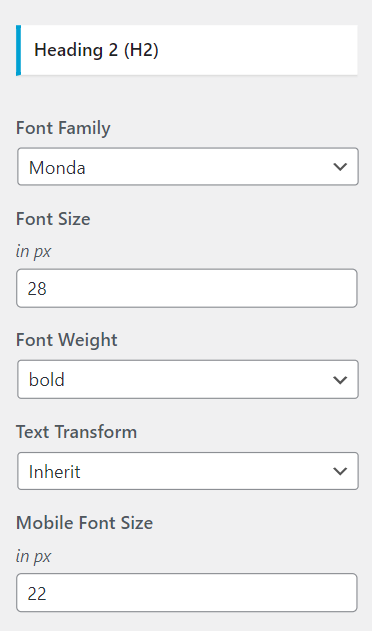
Heading 2 (H2)
- Select Font Family, Font Weight and Text Transform
- Add Font Size.
NOTE : Free Version in 5 font-family and Pro Version in multiple font-family.
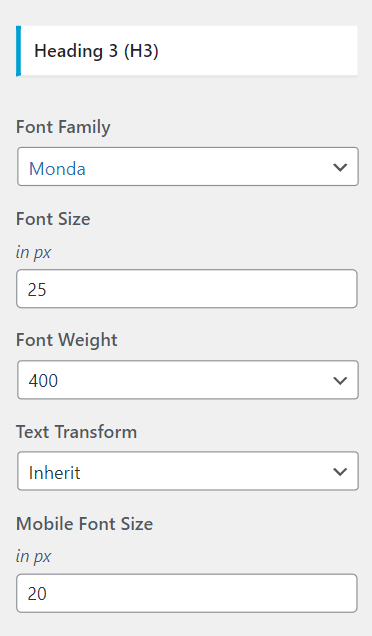
Heading 3 (H3)
- Select Font Family, Font Weight and Text Transform
- Add Font Size.
NOTE : Free Version in 5 font-family and Pro Version in multiple font-family.
Container Setting
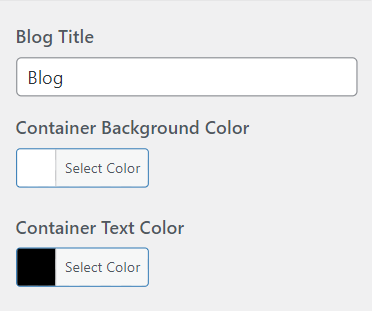
Step 1. Go to Dashboard >> Appearance >> customize >> Global >> Container.
- Add Blog Title, Container Text Color And Container Background Color.
2. Select Page Layout in Content Box Layout
- Select Content Boxed Background Color.
- Select Page Layout in Boxed Layout.
- Customize Container Width.
3. Select Blog Layout in List View and Grid View.
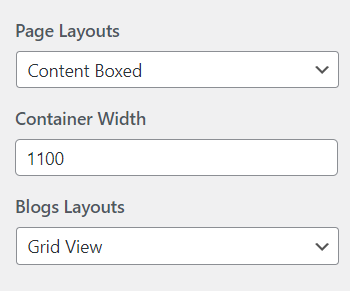
- Select Content Boxed Background Color

4. Select Grid View Layout and Grid View Columns and gap.

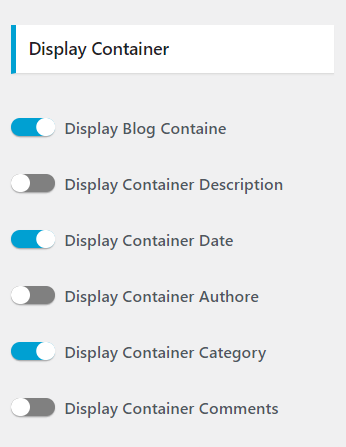
5. Display Container
Buttons
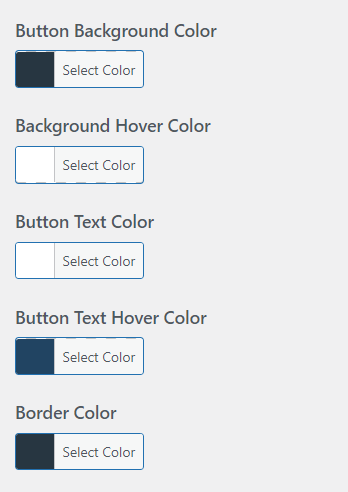
Step 1. Go to Dashboard >> Appearance >> customize >> Global >> Buttons.
- Select Button Background Color, Background Hover color.
- Select Button Text Color and Text Hover color.
- Select Button Border Color.
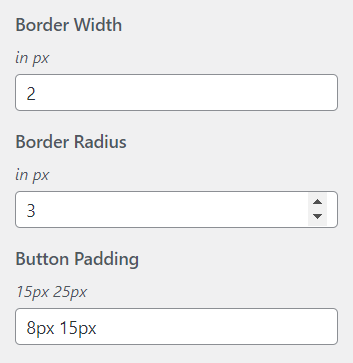
- Select Border Width.
- Select Border Radius.
- Add Button Padding.
Excerpt Options
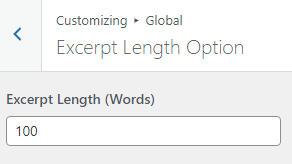
Step 1. Go to Dashboard >> Appearance >> customize >> Global >> Excerpt Options.
- add Excerpt Length
NOTE : Free Version in Excerpt Length is not allowed and Pro Version in Excerpt Length is allowed.
Scroll Button
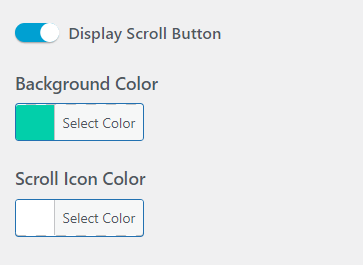
Step 1. Go to Dashboard >> Appearance >> customize >> Global >> Scroll Button.
- checked Scroll Button
- Select Scroll Background and Icon color
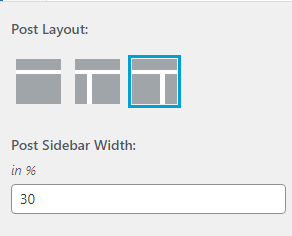
Sidebar Settings
Step 1. Go to Dashboard >> Appearance >> customize >> Sidebar.
- Select Post type.
- Select Layout in no sidebar or Left Sidebar or Right Sidebar.
- Add Sidebar Width.
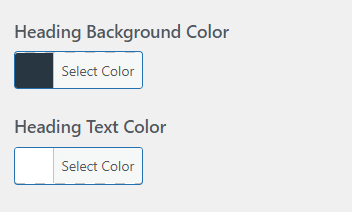
Step 2. Go to Dashboard >> Appearance >> customize >> Sidebar >> Design
- Select Heading Background Color
- Select Heading Text Color.
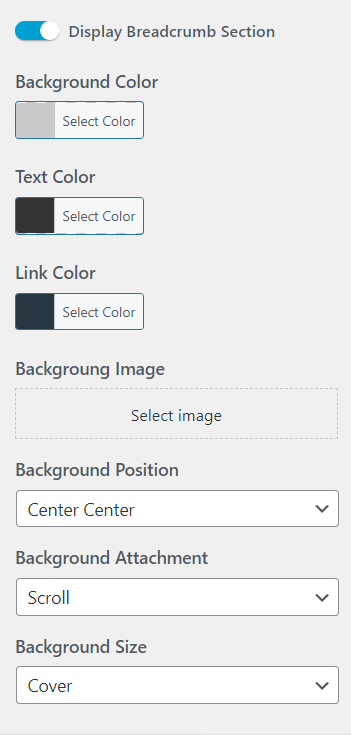
Breadcrumb Section
Step 1. Go to Dashboard >> Appearance >> customize >> Theme Option >> Breadcrumb Section
- Checked Breadcrumb entire site.
- Select Background color, Text color and Link Color.
- Select Background Image.
- Select Background Position.
- Select background Attachment.
- Select Background Size.
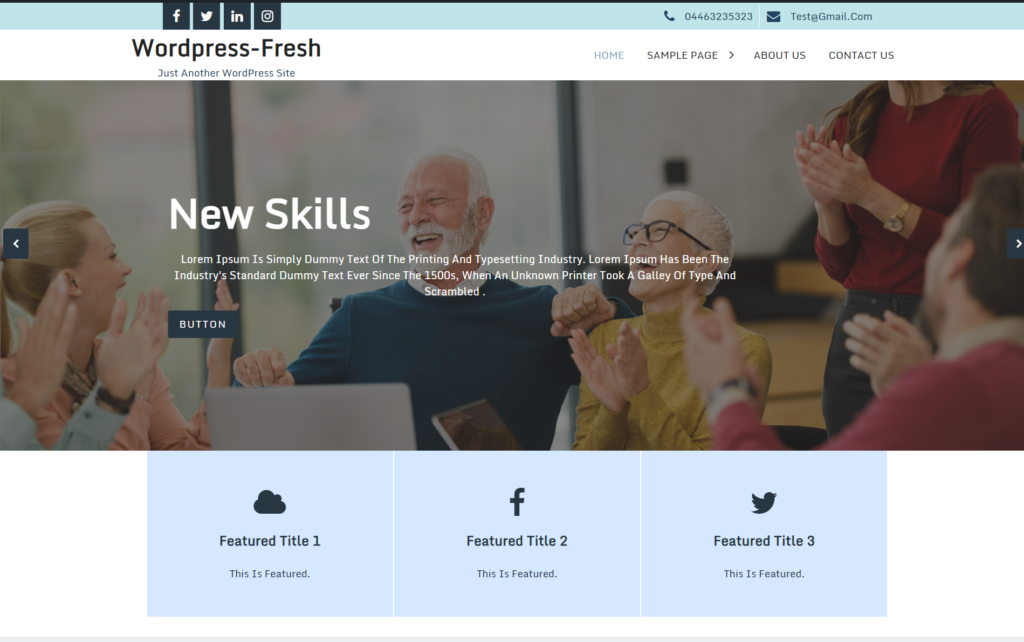
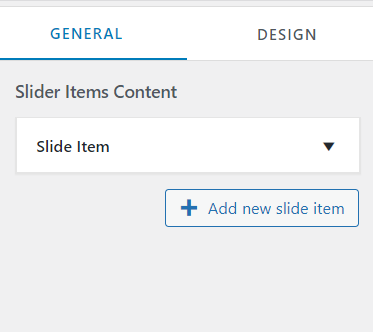
Featured Slider
Step 1. Go to Dashboard >> Appearance >> customize >> Theme Option >> Featured Slider
- Select General Option and Design Option.
- This Section is Draggable.
- Add New Slide Item
NOTE : Free Version in No. of Slide Maximum 1 and Pro Version in Multiple No. of Slides.
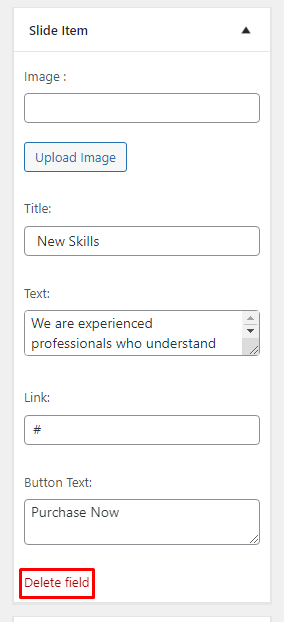
Slide Item
- Add Image URL.
- Add Slider title and description.
- Add Button Text and button Link.
- Delete on click Slide Item is remove.
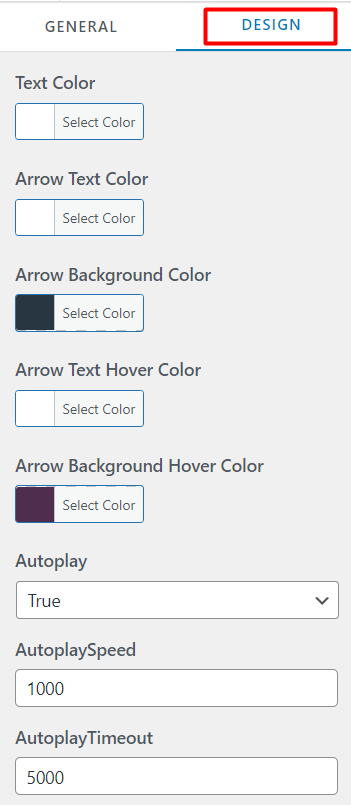
- Select Text Color.
- Select Arrow Text color and Background Color.
- Select Arrow Text Hover color and Background Hover color.
- Select Auto Play.
- Add AutoPlay Speed and AutoPlay Timeout.
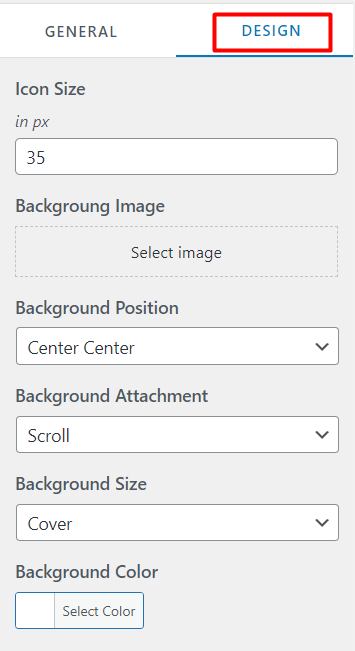
Featured Section
Step 1. Go to Dashboard >> Appearance >> customize >> Theme Option >> Featured Section
- Select General Option and Design Option.
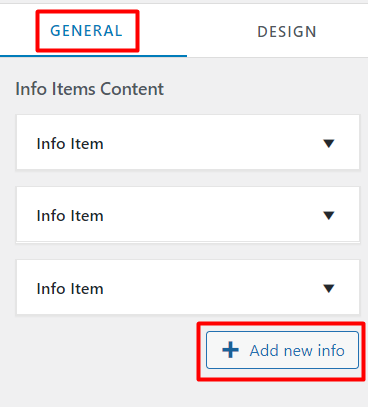
- This Info Item is draggable.
- Add New Info on click add Info Item.
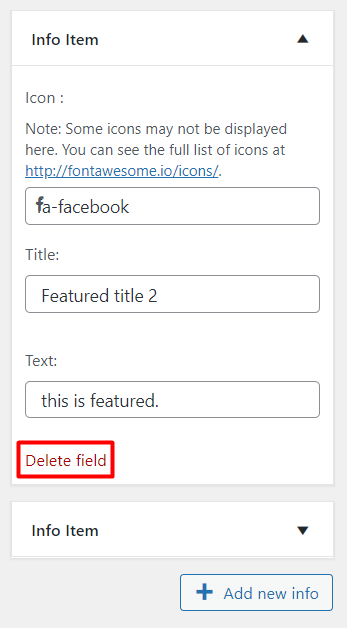
- Add Info Item in icon, title, description.
- Delete field on click Info Item is delete.
NOTE : Free Version in No. of section Maximum 3 and Pro Version in Multiple No. of Section.
- Select Icon Size.
- Add Background Image.
- Select Background image Position, Attachment And Background Size.
- Select Background Color.
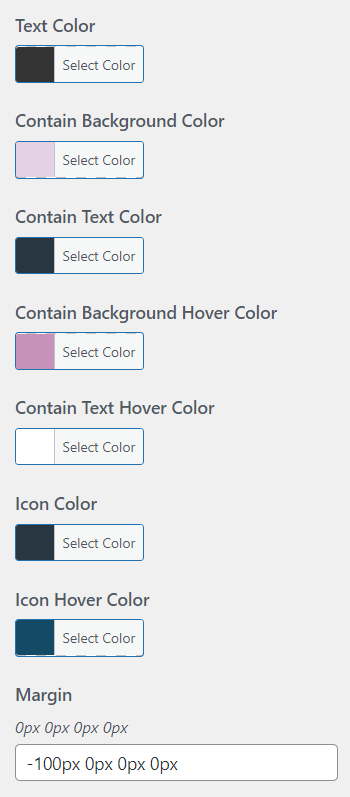
- Select Contain Background color, Background Hover Color.
- Select Contain Text Color, Text Hover Color.
- Select Icon color and Icon Hover color.
- Add Margin.
About Section
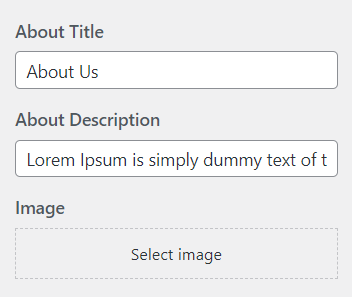
Step 1. Go to Dashboard >> Appearance >> customize >> Theme Option >> About Section
- Add About Title and Description.
- Select About Image.
- Add Layout Title , Subheading, Description, Button Text and link.
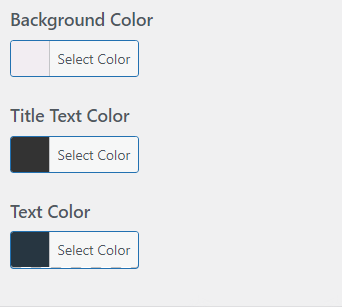
- Select Background Color, Title Text Color and Text Color.

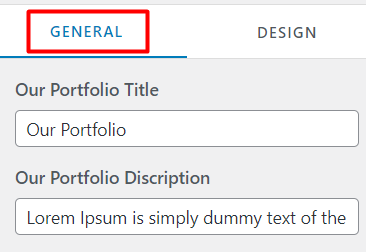
Our Portfolio
Step 1. Go to Dashboard >> Appearance >> customize >> Theme Option >> Our Portfolio
- Select General Option and Design Option.
- Add Our Portfolio Title and Description.
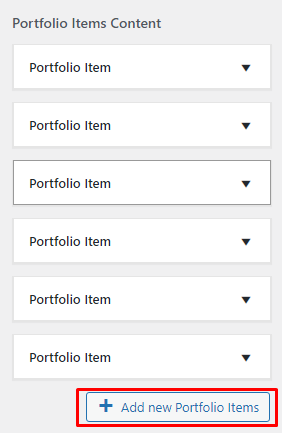
- NOTE : Free Version in No. of section Maximum 3 and Pro Version in Multiple No. of Section.
- Add New Portfolio Item and Delete Portfolio Item.
- This Section is Draggable.
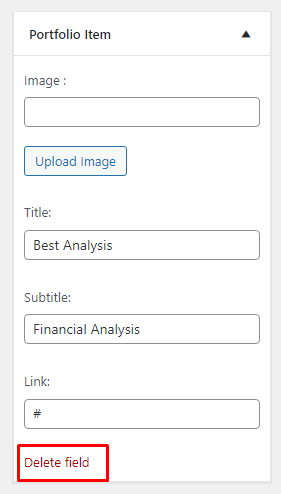
- Select Portfolio Item Image, Title, Subtitle and link.
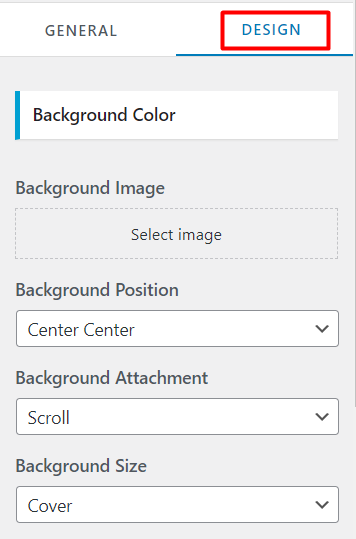
- Select Background Image, Position, attachment and Size.
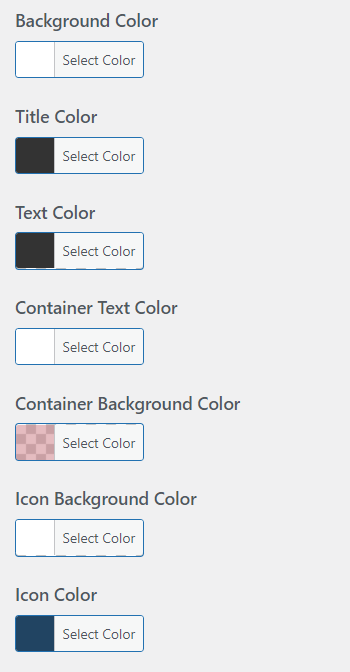
- Select Background Color, Title color, Text Color, Container Background Color, Icon Background Color and Icon color.
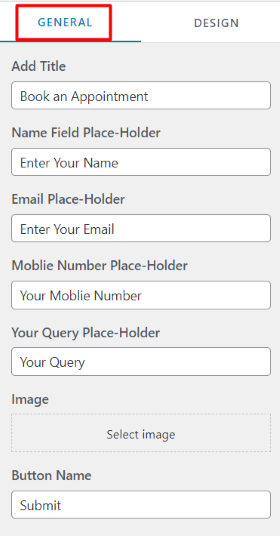
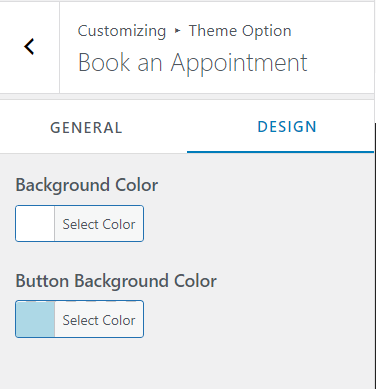
Book an Appointment
Step 1. Go to Dashboard >> Appearance >> customize >> Theme Option >> Book an Appointment
- Select General Option and Design Option.
- Add Book an Appointment Title and Description.
- Add and remove image.
- Customize appointment form name, email address, mob number and query placeholder.
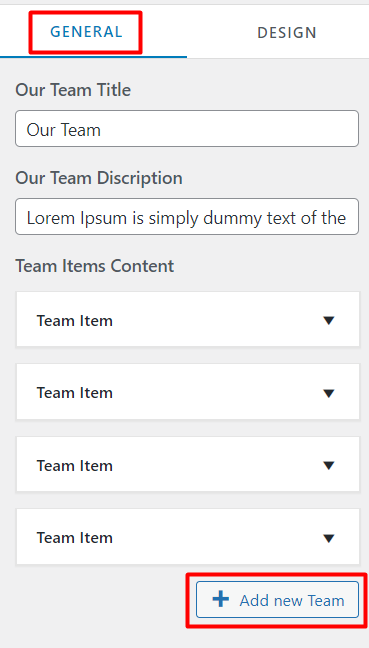
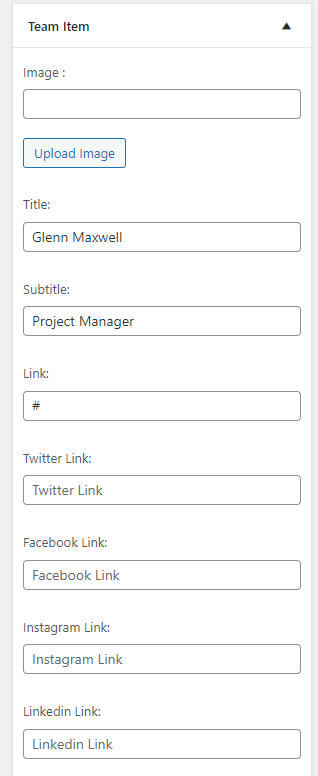
Our Team
Step 1. Go to Dashboard >> Appearance >> customize >> Theme Option >> Our Team
- Select General Option and Design Option.
- Add Our Team Title and Description.
- Add New Item Content and Delete Item Content
- Team Item in Select Image URL, Title, Subtitle, Link.
- Add Twitter Link, Facebook Link, Instagram Link, LinkedIn Link.
NOTE : Free Version in No. of section Maximum 4 and Pro Version in Multiple No. of Section.
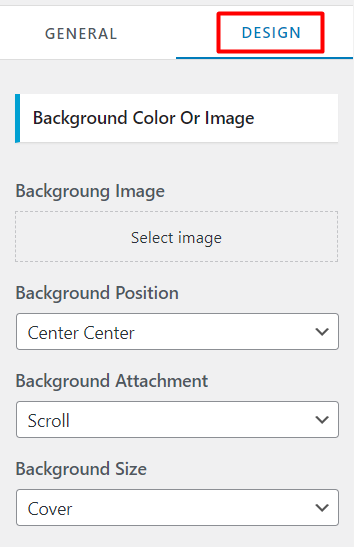
- Select Background Image, Position, Attachment and Size.
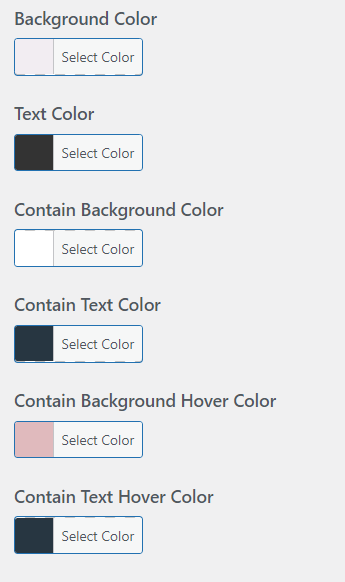
- Select Background color, Text Color.
- Select Icon Background Color, Background Hover Color.
- Select Contain Background Color and Text Color.
- Select Contain Background Hover Color, Text Hover Color.
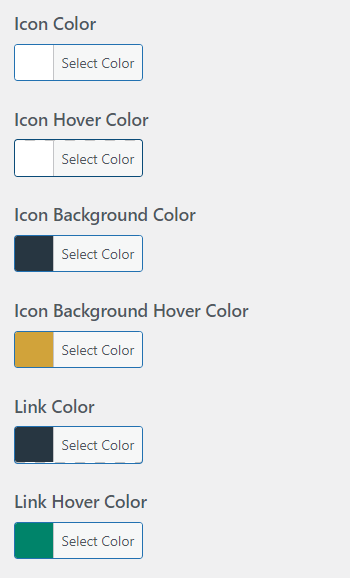
- Select Icon Color and Icon Hover Color.
- Select Icon Background Color and Icon Background Hover Color.
- Select Link Color and Link Hover Color.
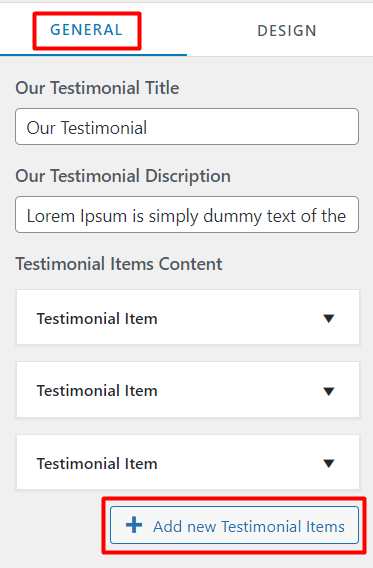
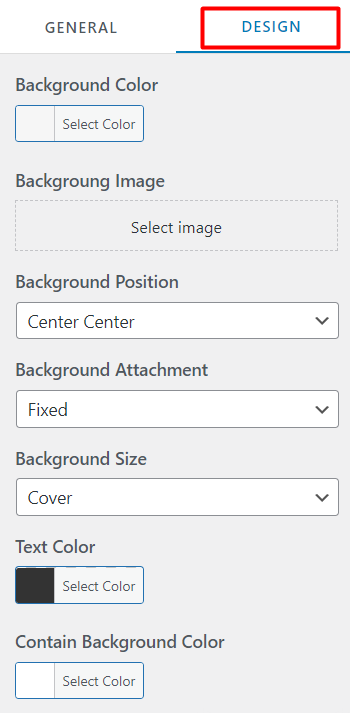
Our Testimonial
Step 1. Go to Dashboard >> Appearance >> customize >> Theme Option >> Our Testimonial
- Select General Option and Design Option.
- Select Our Testimonial Title and Description.
- Add New Testimonial Item and Delete Testimonial Item.
- This Section is Draggable.
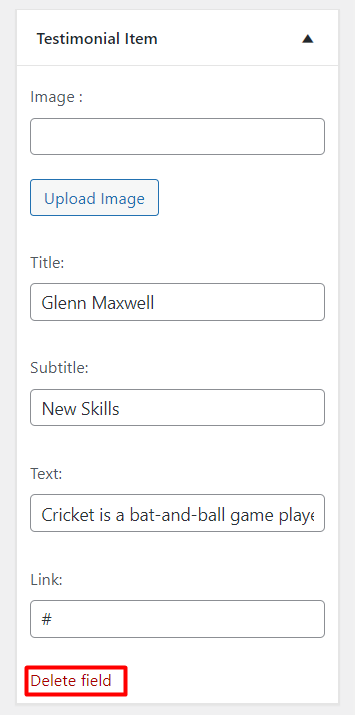
- Testimonial Item Select Image URL, Title, Subtitle, Description and Link.
NOTE : Free Version in No. of section Maximum 3 and Pro Version in Multiple No. of Section.
- Select Background Color, Text Color.
- Select Image, Position, Attachment and Size.
- Select Contain Background Color.
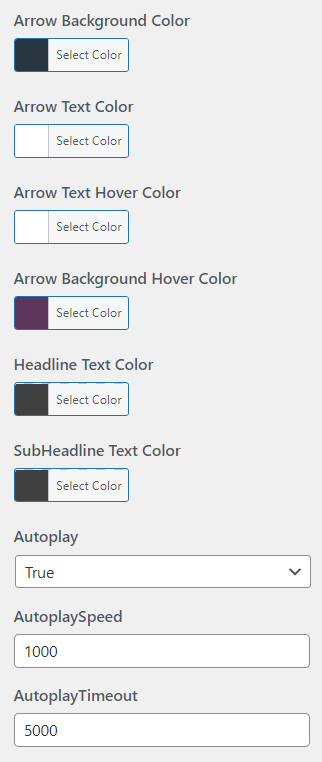
- Select Arrow Background Color, Arrow Text Color.
- Select Arrow Background Hover Color, Arrow Text Hover Color.
- Select AutoPlay , AutoPlay Speed, and AutoPlay Timeout.
- Select Client Title Color, Subhead line Text color.
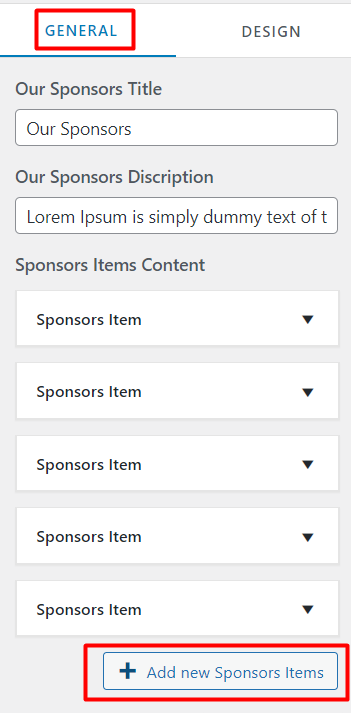
Our Sponsors
Step 1. Go to Dashboard >> Appearance >> customize >> Theme Option >> Our Sponsors
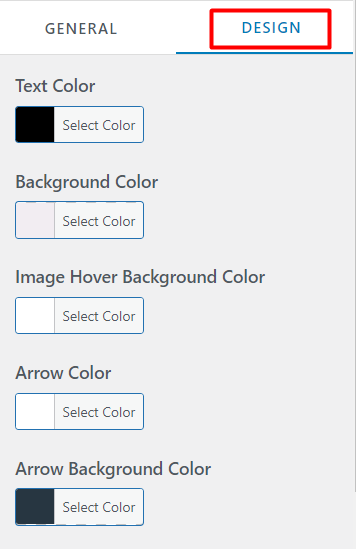
- Select General Option and Design Option.
- Add Our Sponsors Title, Our Sponsors Description.
- Add New Item Sponsors and Delete Item Sponsors.
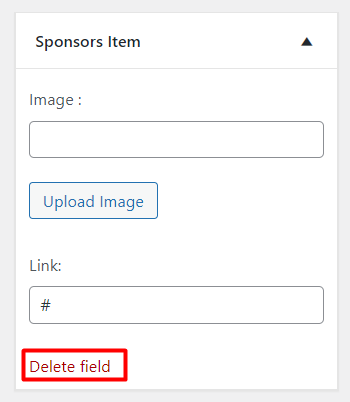
- Add Sponsor Item Image URL and Link.
NOTE : Free Version in No. of section Maximum 5 and Pro Version in Multiple No. of Section.
- Select Text Color, Background color, Image Hover Background color.
- Select Arrow color and Background Color.
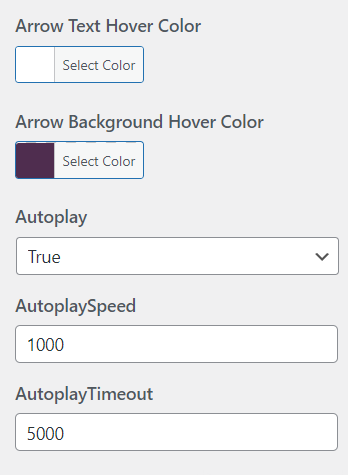
- Select Arrow Text Hover color and Background Hover Color.
- Select AutoPlay, AutoPlay Speed and AutoPlay Timeout.
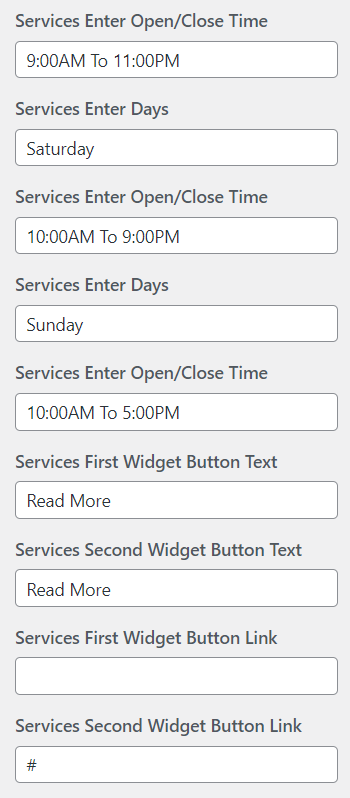
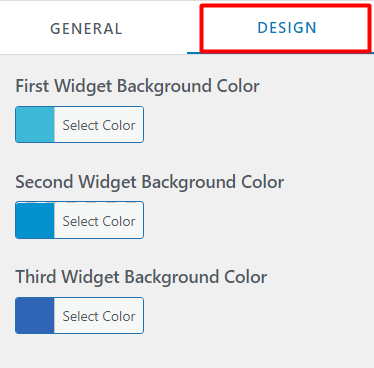
Our Services
Step 1. Go to Dashboard >> Appearance >> customize >> Theme Option >> Our Services
- Display blog wise services.
- Customize services title, content button text.
- Add your business address, contact info.
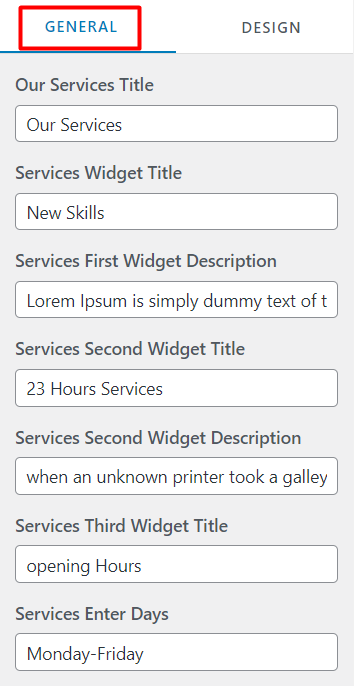
- Select first ,second and third services widget background color.
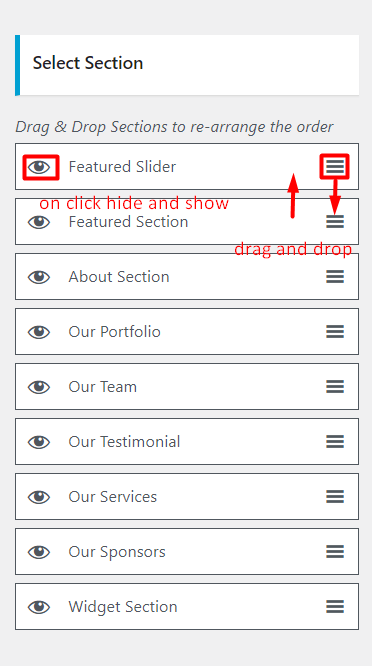
Home Page Ordering Section
Step 1. Go to Dashboard >> Appearance >> customize >> Theme Option >> Home Page Ordering Section
- Drag & Drop Section and Hide Section in home page
NOTE : Free Version in only hide & show section and Pro Version in Hide & show and Drag & drop Section.
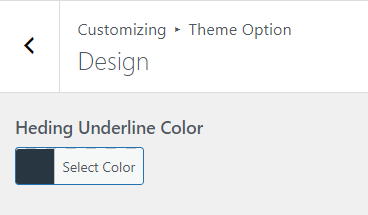
Design
Step 1. Go to Dashboard >> Appearance >> customize >> Theme Option >> Design
- Select Heading Underline Color.
Footer
Step1. Go to Dashboard >> Appearance >> customize >> Footer.
- Add Footer Text
- Select Footer Background Color and Text Color.
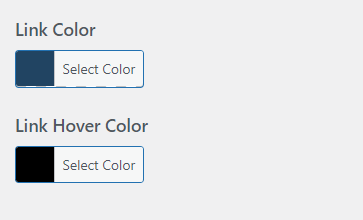
- Select Footer Link Color and Link Hover Color.
- Select Background Image, Position, Attachment and Size.
NOTE : Free Version in copyright text is not allowed and Pro Version in copyright text is allowed .
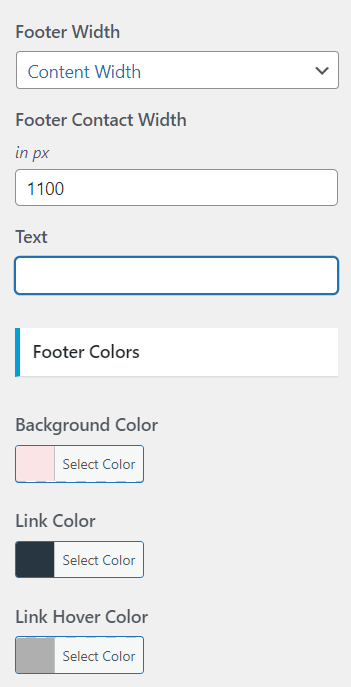

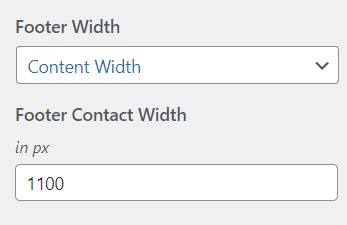
Step 2. Go to Dashboard >> Appearance >> customize >> Footer >> Footer Width.
- Select Footer Width Layout in Content width and Full Width.
- Select Content Width .
How to Change Color of the Theme?
Step1. Go to Dashboard >> Appearance >> customize >> Colors.
- Select Link Color and Link Hover Color.
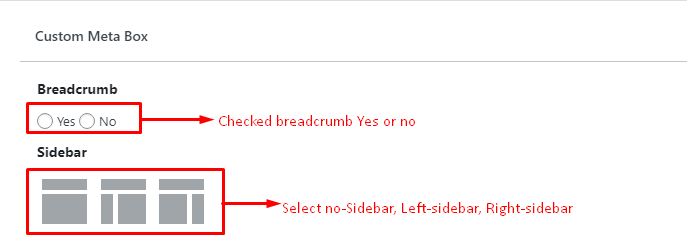
Single Page and Post in select Breadcrumb and Sidebar.
Step 1. Single Page and Post in add Breadcrumb and Sidebar.
- Single Post and Page in Breadcrumb Option Yes or no.
- Single Post and Page in Select Sidebar.
Header Image Logo Width
Step1. Go to Dashboard >> Appearance >> customize >> Site Identity.
- Add Logo Image Width in px.