Using your FTP program, upload the non-zipped theme folder into the “/wp-content/themes/” folder on your server.
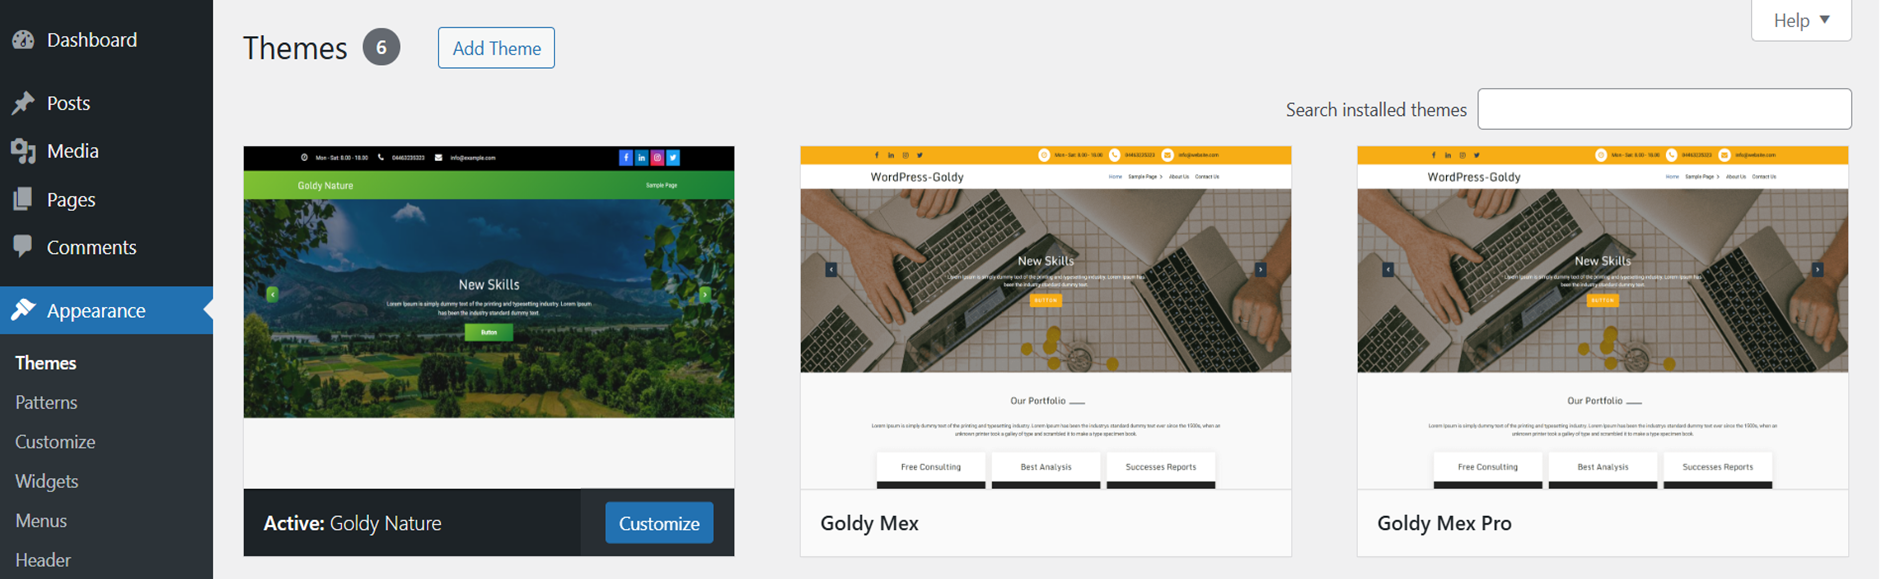
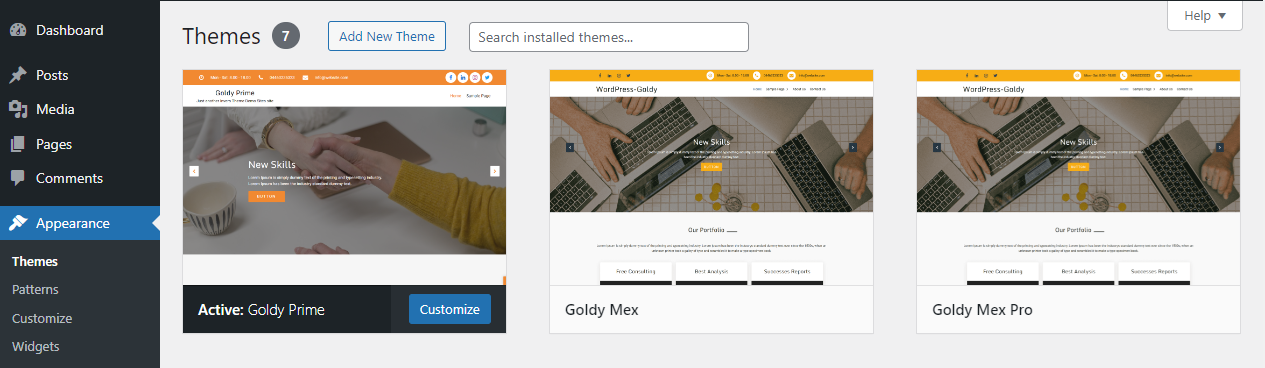
Go to Dashboard » Appearance » Themes and find Goldy nature theme from list.
Click on Activate to active Goldy nature theme.
Create a new menu
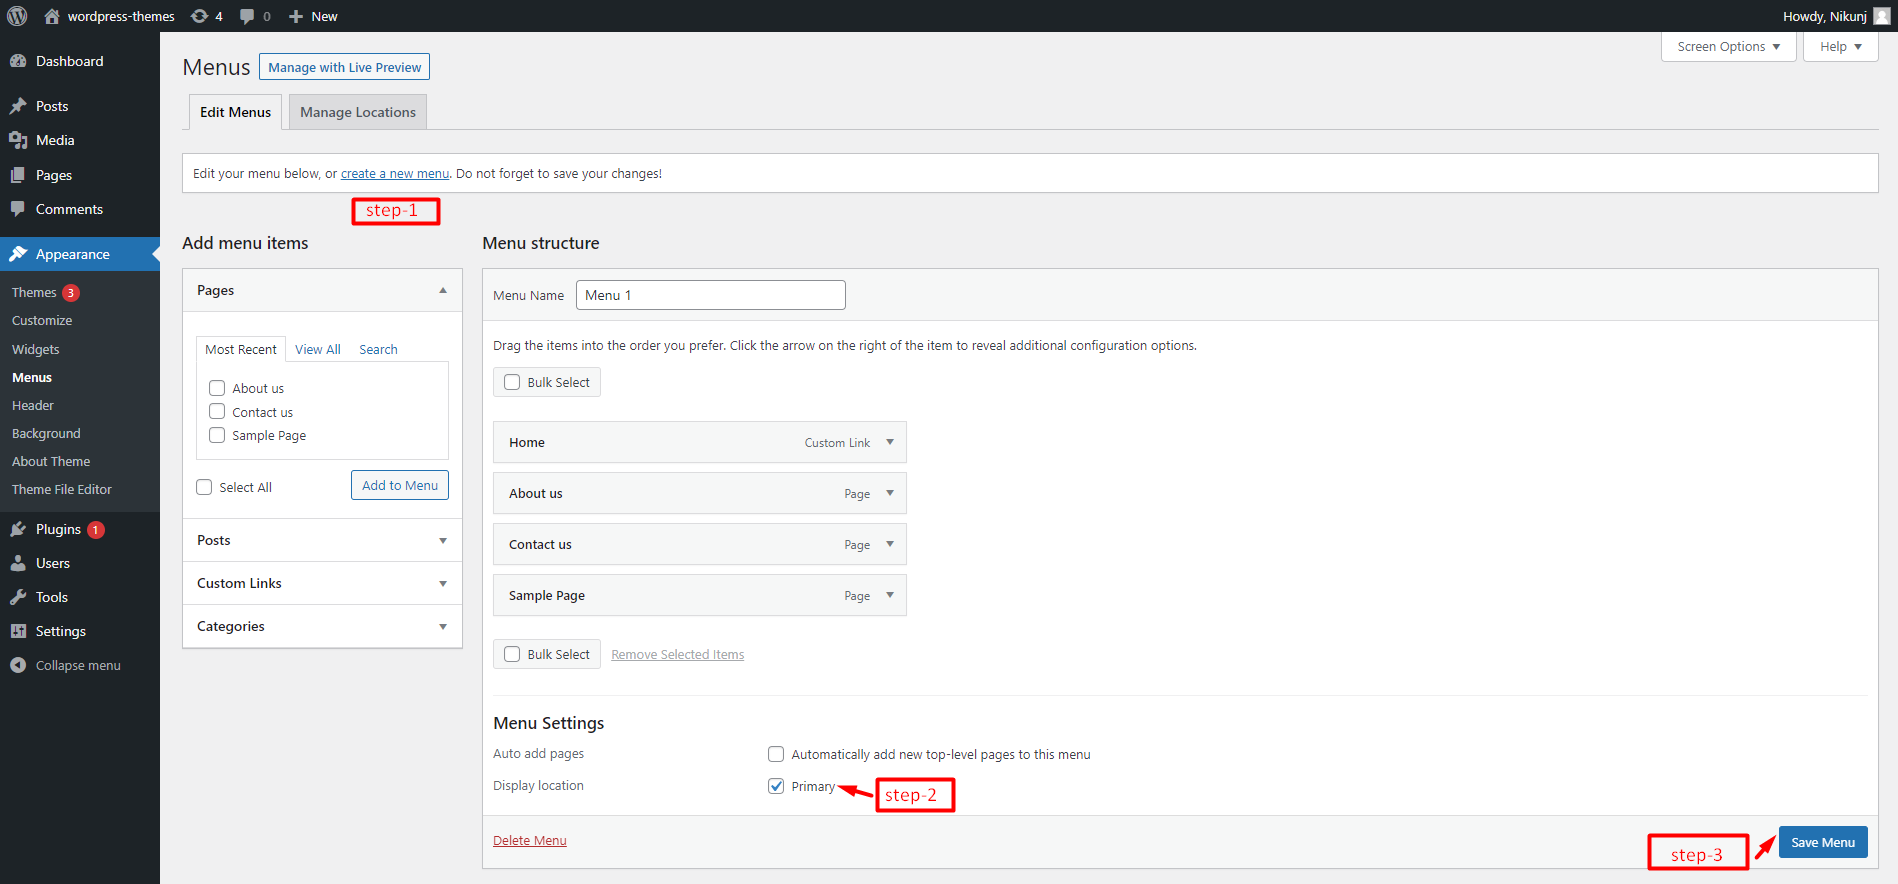
Go to Dashboard >> Appearance >> Menus.
Click on create a new menu as show in below image.
Enter menu name and click on Create Menu as shown in below image.
Header Settings
Step 1. Go to Dashboard >> Appearance >> Customize >> Header>> Header Option
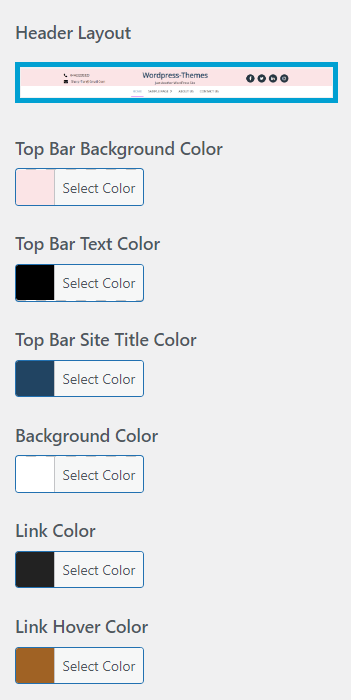
Select Header Layout
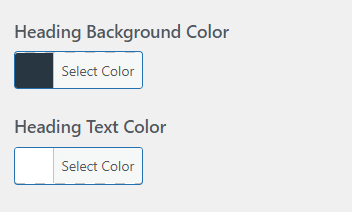
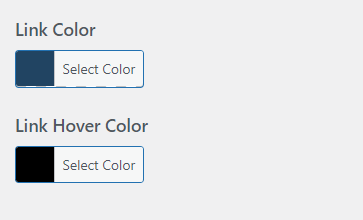
Select Top bar-Background color, Top Bar-Text color, Background Color, Text Color, Link color and Link hover Color.
Select Transparent Header Select in Background color, Text color and Link Color.
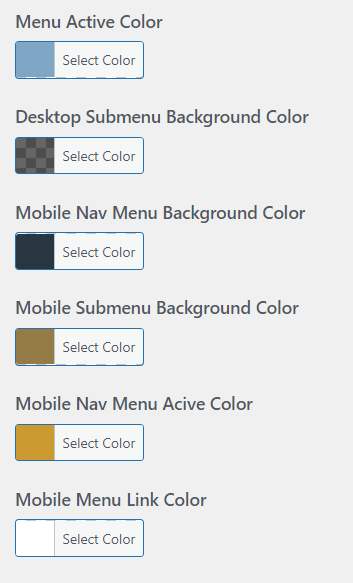
select menu color, submenu color mobile in submenu color and link color.
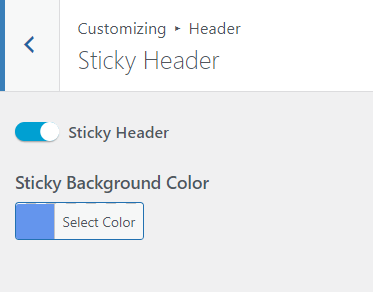
Step 2. Go to Dashboard >> Appearance >> Customize >> Header>> Sticky Header
Checked sticky Header
Select Sticky Background Color
NOTE : Free Version in sticky header is not allowed and Pro Version in Sticky header is allowed.
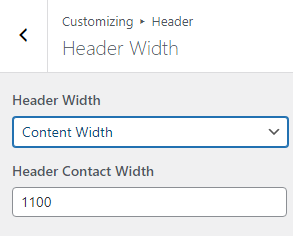
Step 3. Go to Dashboard >> Appearance >> Customize >> Header>>Header Width
Header Width Layout in select Full Width or Content Width.
Add Header Contact Width.
Top Bar Section
Step 1. Go to Dashboard >> Appearance >> Customize >> Social Info>> Contact Info.
add Contact Number and Email id.
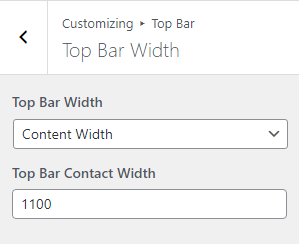
Step 2. Go to Dashboard >> Appearance >> Customize >>Social Info>>Top Bar Width
Top Bar Width Layout in select Full Width and Content Width.
Step 3. Go to Dashboard >> Appearance >> Customize >> Top Bar >> Social Info.
Note : if this plugin Inpersttion For Theme must be installed then this Social Info use Otherwise this Social Info is not work.
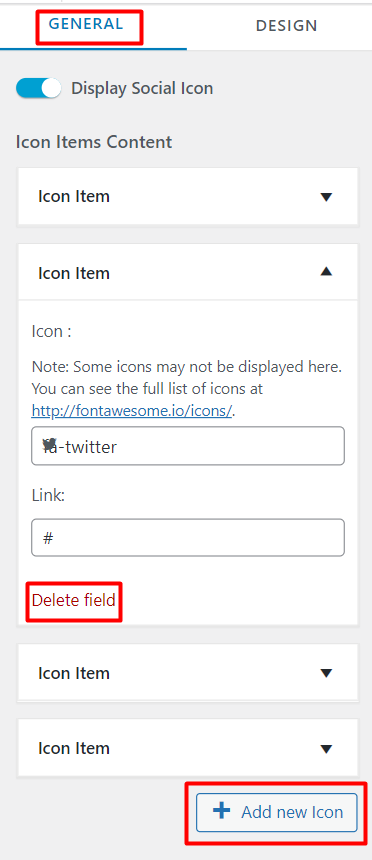
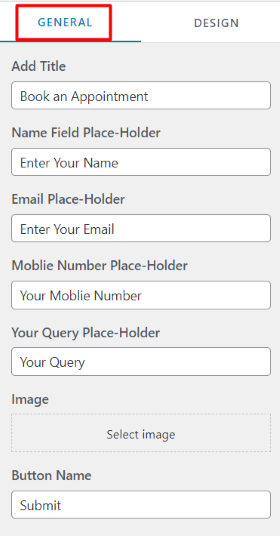
Select General Option
Checked Social Icon.
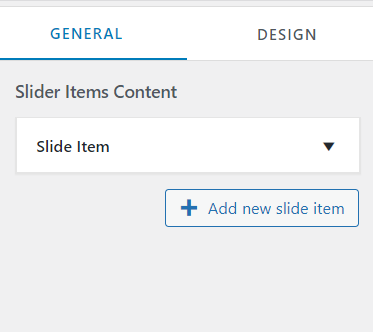
Add New Icon fields.
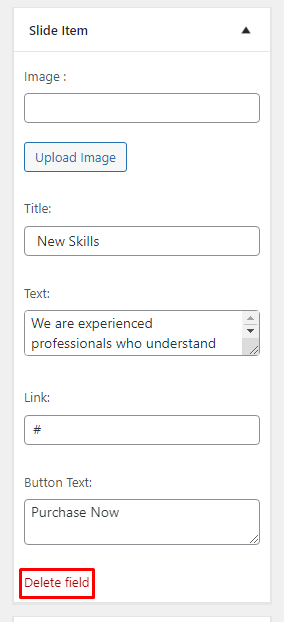
Delete Icon fields.
This Icon Item is Draggable.
Add Icon and Icon Link.
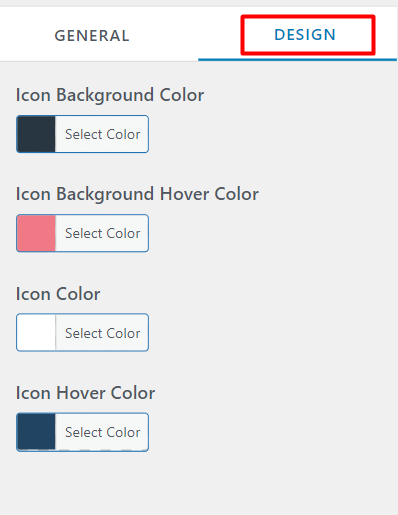
Select Design Option
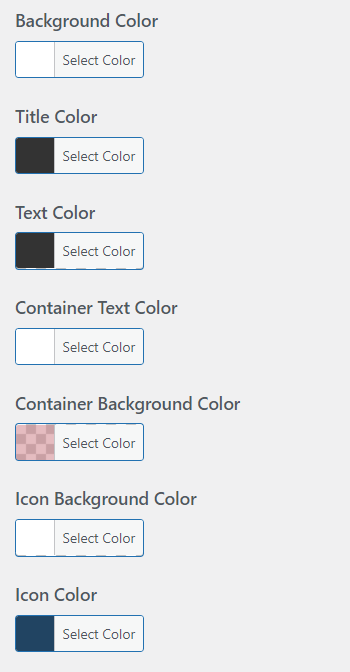
Select Icon Background and Background Hover color.
Select Icon Color and Icon Hover Color.
Typography
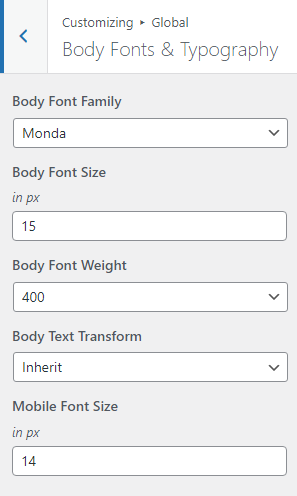
Step1. Go to Dashboard >> Appearance >> customize >> Global>> Body Fonts & Typography.
Select Body font family, font weight and text transform
Add Font Size
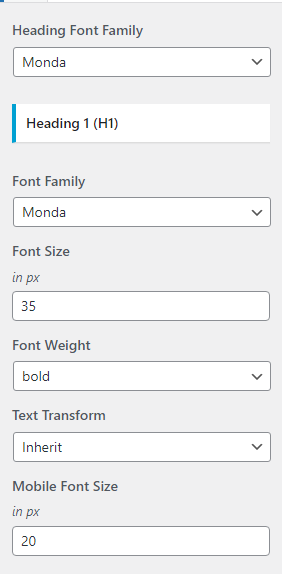
Step2. Go to Dashboard >> Appearance >> customize >> Global>> Heading Fonts & Typography.
Select Heading Font Family
Heading 1(H1)
Select Font Family, Font Weight and Text Transform
Add Font Size.
NOTE : Free Version in 5 font-family and Pro Version in multiple font-family.
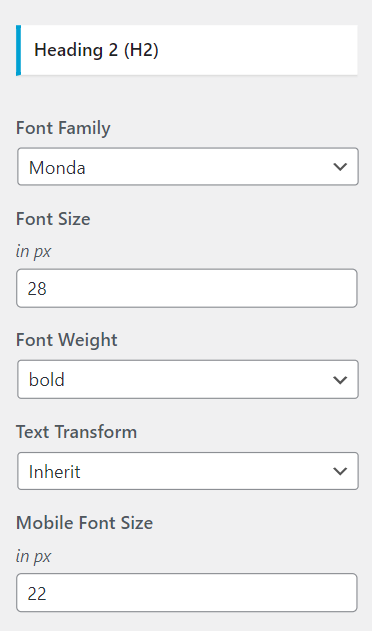
Heading 2(H2)
Select Font Family, Font Weight and Text Transform
Add Font Size.
NOTE : Free Version in 5 font-family and Pro Version in multiple font-family.
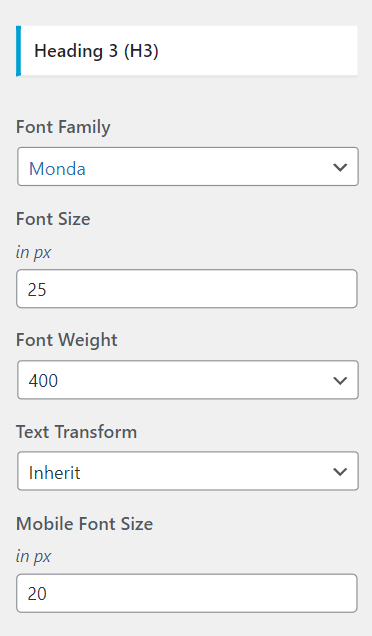
Heading 3(H3)
Select Font Family, Font Weight and Text Transform
Add Font Size.
NOTE : Free Version in 5 font-family and Pro Version in multiple font-family.
Container Setting
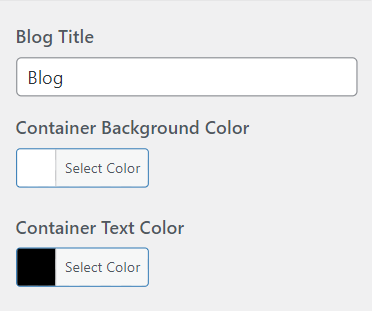
Step 1. Go to Dashboard >> Appearance >> customize >> Global >> Container.
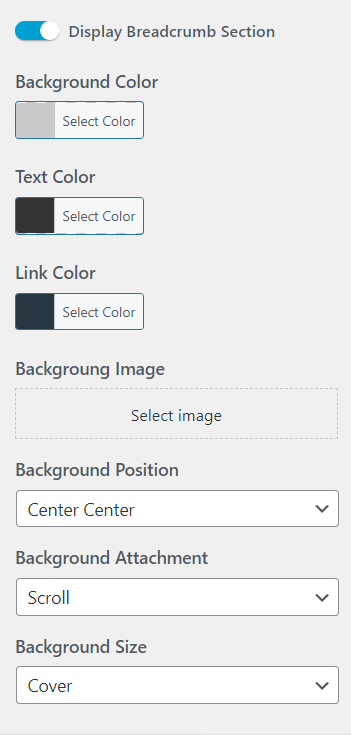
Add Blog Title, Container Text Color And Container Background Color.
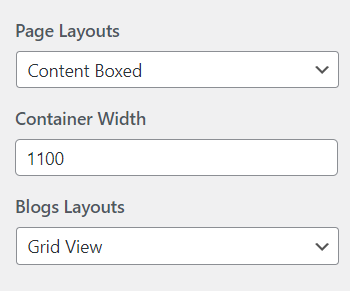
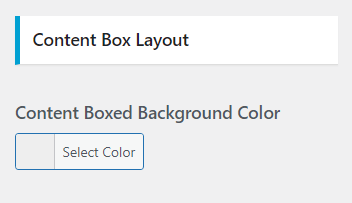
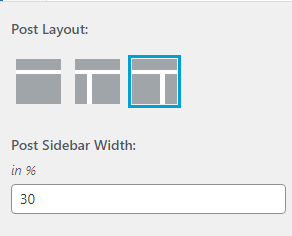
2. Select Page Layout in Content Box Layout
Select Content Boxed Background Color.
Select Page Layout in Boxed Layout.
Customize Container Width.
3. Select Blog Layout in List View and Grid View.
Select Content Boxed Background Color
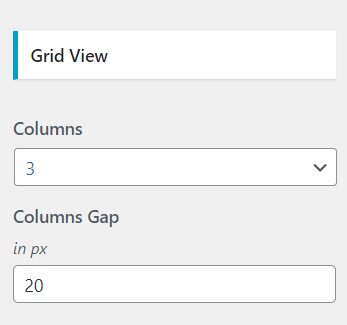
4. Select Grid View Layout and Grid View Columns and gap.
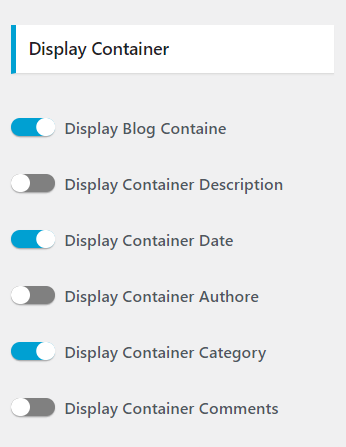
5. Display Container
Buttons
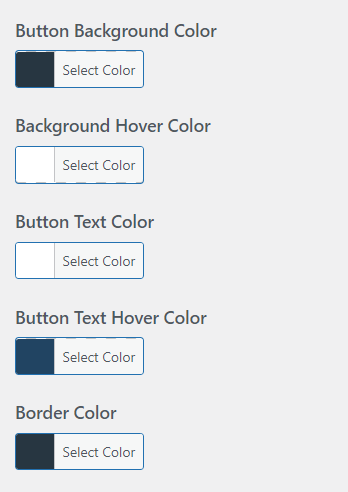
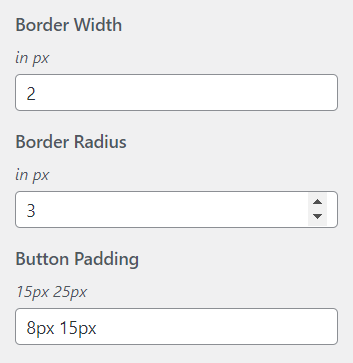
Step 1. Go to Dashboard >> Appearance >> customize >> Global>> Buttons.
Using your FTP program, upload the non-zipped theme folder into the “/wp-content/themes/” folder on your server.
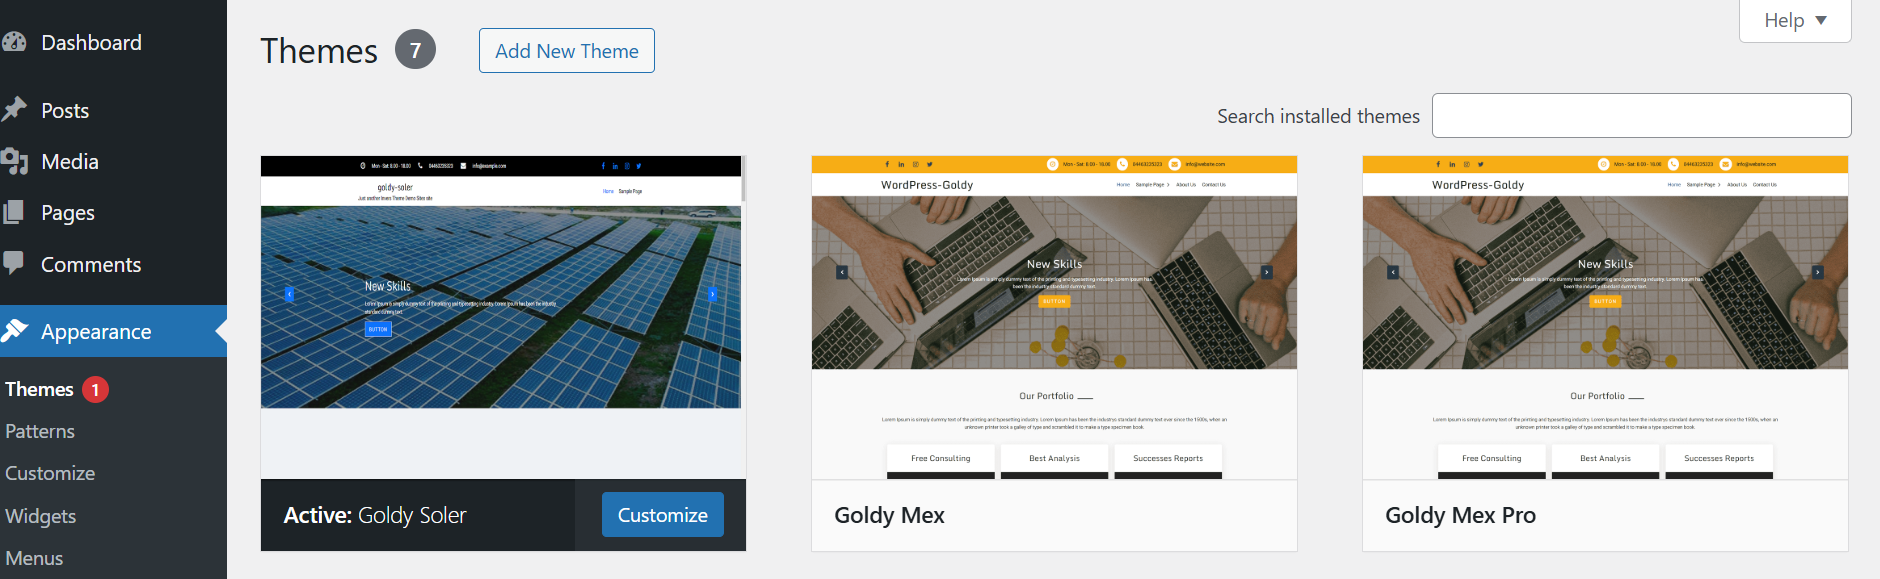
Go to Dashboard » Appearance » Themes and find Goldy soler theme from list.
Click on Activate to active Goldy soler theme.
Create a new menu
Go to Dashboard >> Appearance >> Menus.
Click on create a new menu as show in below image.
Enter menu name and click on Create Menu as shown in below image.
Header Settings
Step 1. Go to Dashboard >> Appearance >> Customize >> Header>> Header Option
Select Header Layout
Select Top bar-Background color, Top Bar-Text color, Background Color, Text Color, Link color and Link hover Color.
Select Transparent Header Select in Background color, Text color and Link Color.
select menu color, submenu color mobile in submenu color and link color.
Step 2. Go to Dashboard >> Appearance >> Customize >> Header>> Sticky Header
Checked sticky Header
Select Sticky Background Color
NOTE : Free Version in sticky header is not allowed and Pro Version in Sticky header is allowed.
Step 3. Go to Dashboard >> Appearance >> Customize >> Header>>Header Width
Header Width Layout in select Full Width or Content Width.
Add Header Contact Width.
Top Bar Section
Step 1. Go to Dashboard >> Appearance >> Customize >> Social Info>> Contact Info.
add Contact Number and Email id.
Step 2. Go to Dashboard >> Appearance >> Customize >>Social Info>>Top Bar Width
Top Bar Width Layout in select Full Width and Content Width.
Step 3. Go to Dashboard >> Appearance >> Customize >> Top Bar >> Social Info.
Note : if this plugin Inpersttion For Theme must be installed then this Social Info use Otherwise this Social Info is not work.
Select General Option
Checked Social Icon.
Add New Icon fields.
Delete Icon fields.
This Icon Item is Draggable.
Add Icon and Icon Link.
Select Design Option
Select Icon Background and Background Hover color.
Select Icon Color and Icon Hover Color.
Typography
Step1. Go to Dashboard >> Appearance >> customize >> Global>> Body Fonts & Typography.
Select Body font family, font weight and text transform
Add Font Size
Step2. Go to Dashboard >> Appearance >> customize >> Global>> Heading Fonts & Typography.
Select Heading Font Family
Heading 1(H1)
Select Font Family, Font Weight and Text Transform
Add Font Size.
NOTE : Free Version in 5 font-family and Pro Version in multiple font-family.
Heading 2(H2)
Select Font Family, Font Weight and Text Transform
Add Font Size.
NOTE : Free Version in 5 font-family and Pro Version in multiple font-family.
Heading 3(H3)
Select Font Family, Font Weight and Text Transform
Add Font Size.
NOTE : Free Version in 5 font-family and Pro Version in multiple font-family.
Container Setting
Step 1. Go to Dashboard >> Appearance >> customize >> Global >> Container.
Add Blog Title, Container Text Color And Container Background Color.
2. Select Page Layout in Content Box Layout
Select Content Boxed Background Color.
Select Page Layout in Boxed Layout.
Customize Container Width.
3. Select Blog Layout in List View and Grid View.
Select Content Boxed Background Color
4. Select Grid View Layout and Grid View Columns and gap.
5. Display Container
Buttons
Step 1. Go to Dashboard >> Appearance >> customize >> Global>> Buttons.
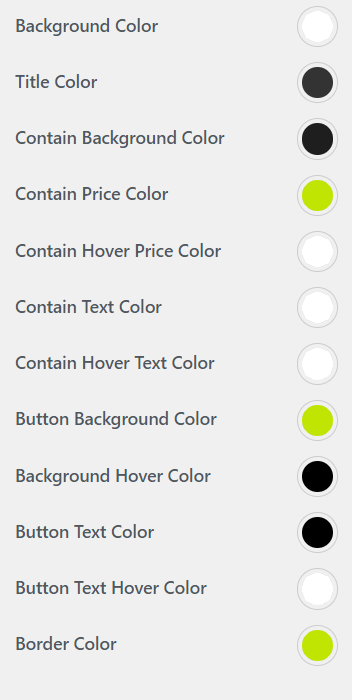
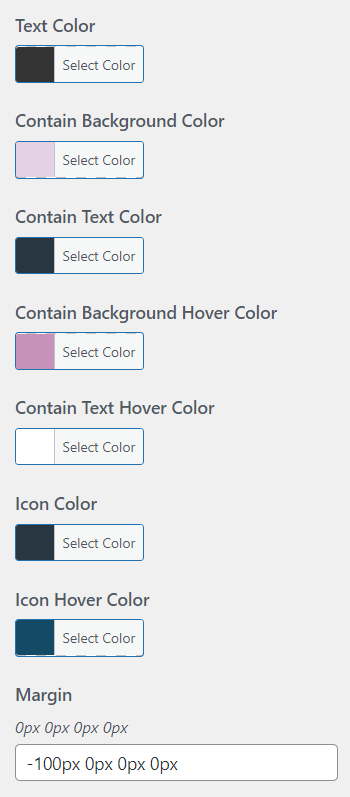
Select Contain Background Hover Color, Text Hover Color.
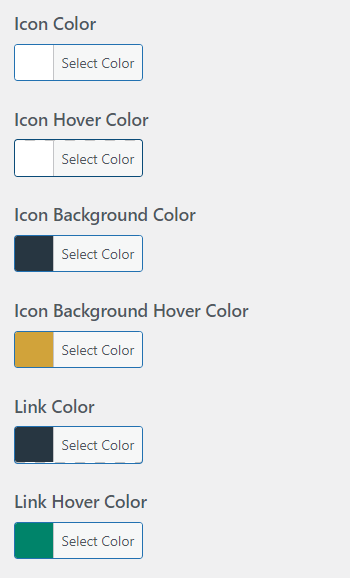
Select Icon Color and Icon Hover Color.
Select Icon Background Color and Icon Background Hover Color.
Select Link Color and Link Hover Color.
Our Testimonial
Step 1. Go to Dashboard >> Appearance >> customize >> Theme Option>> Our Testimonial
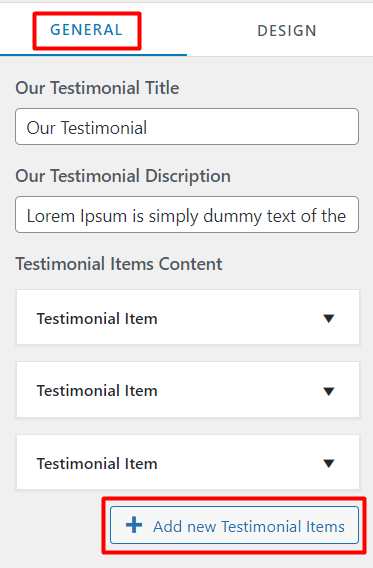
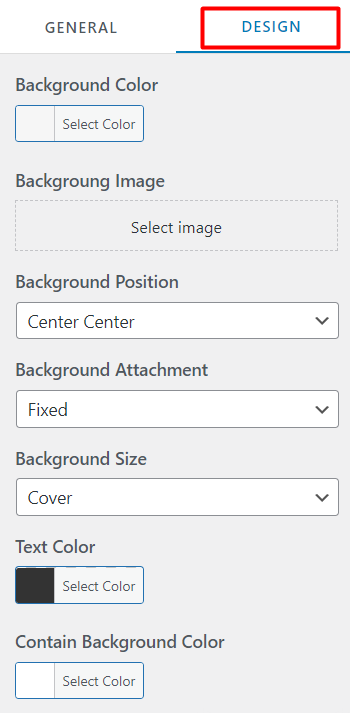
Select General Option and Design Option.
Select Our Testimonial Title and Description.
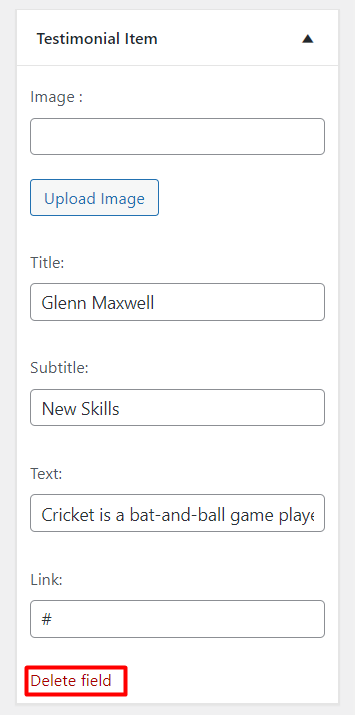
Add New Testimonial Item and Delete Testimonial Item.
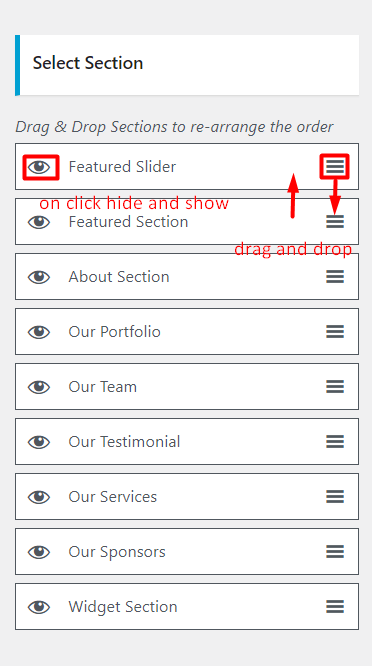
This Section is Draggable.
Testimonial Item Select Image URL, Title, Subtitle, Description and Link.
NOTE : Free Version in No. of section Maximum 3 and Pro Version in Multiple No. of Section.
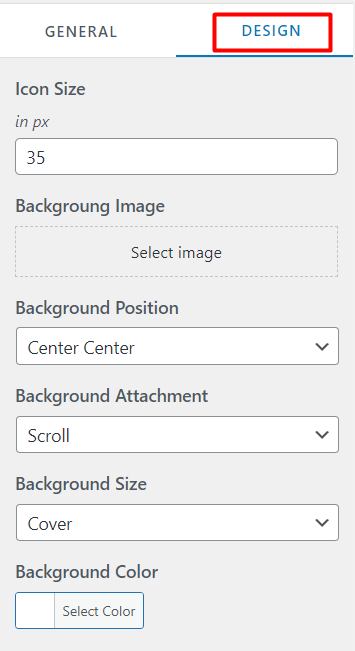
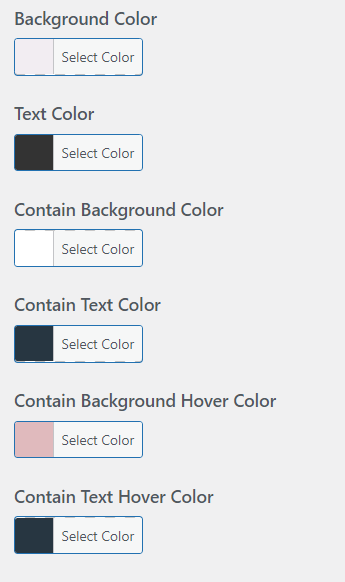
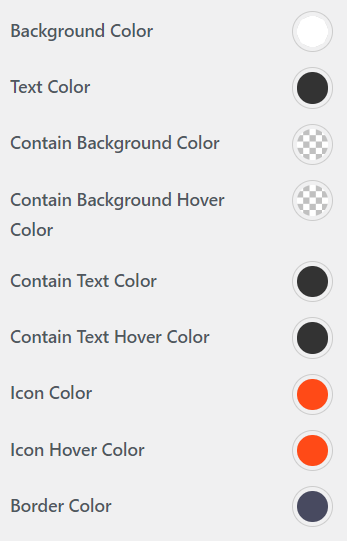
Select Background Color, Text Color.
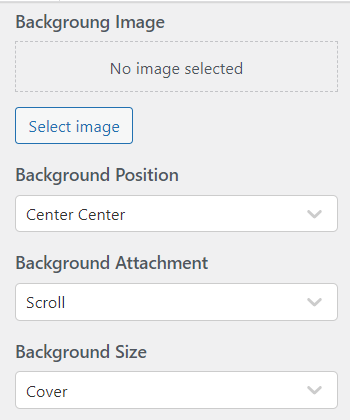
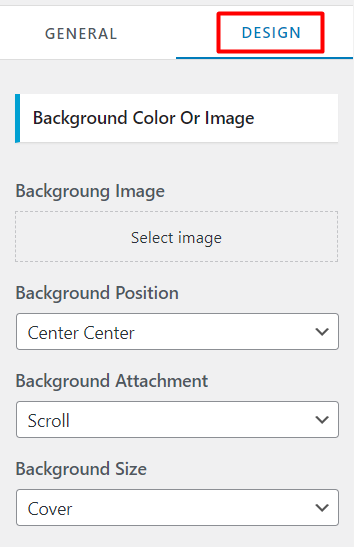
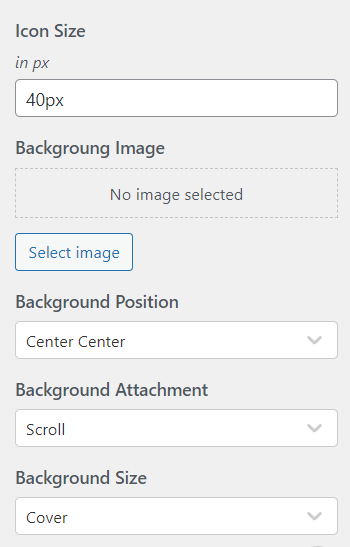
Select Image, Position, Attachment and Size.
Select Contain Background Color.
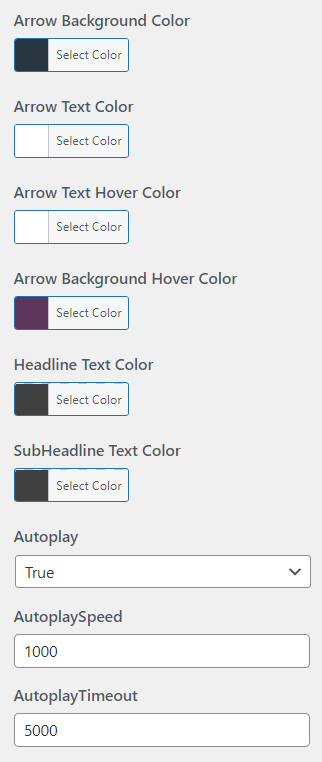
Select Arrow Background Color, Arrow Text Color.
Select Arrow Background Hover Color, Arrow Text Hover Color.
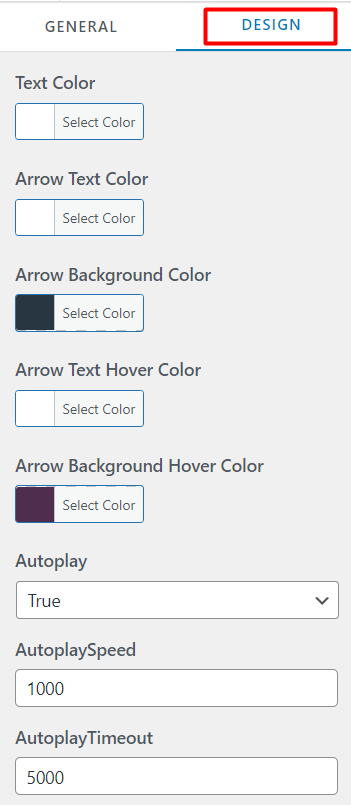
Select AutoPlay , AutoPlay Speed, and AutoPlay Timeout.
Select Client Title Color, Subhead line Text color.
Our Sponsors
Step 1. Go to Dashboard >> Appearance >> customize >> Theme Option>> Our Sponsors
Select General Option and Design Option.
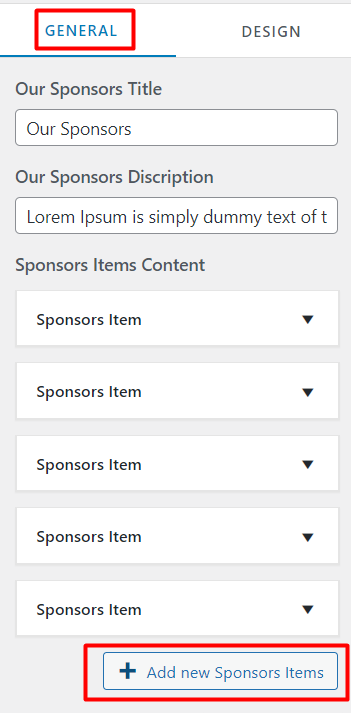
Add Our Sponsors Title, Our Sponsors Description.
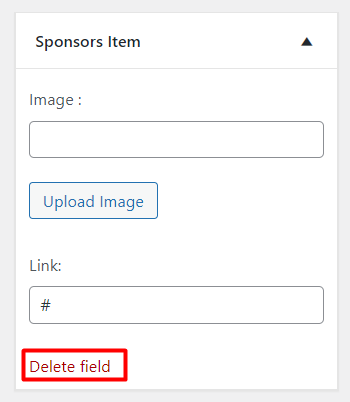
Add New Item Sponsors and Delete Item Sponsors.
Add Sponsor Item Image URL and Link.
NOTE : Free Version in No. of section Maximum 5 and Pro Version in Multiple No. of Section.
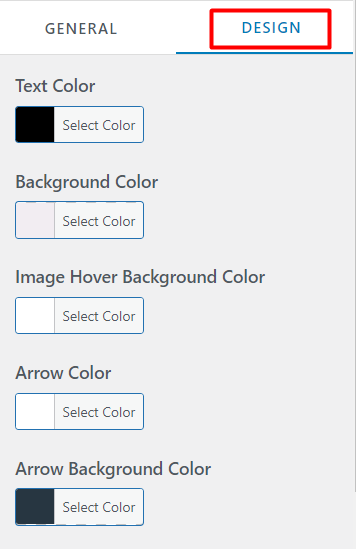
Select Text Color, Background color, Image Hover Background color.
Select Arrow color and Background Color.
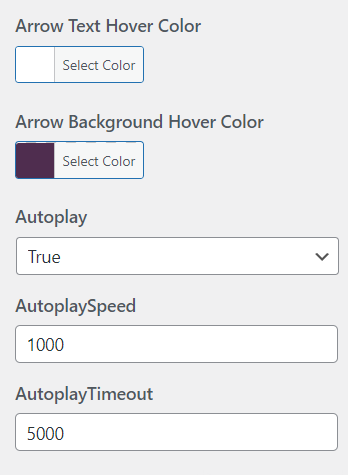
Select Arrow Text Hover color and Background Hover Color.
Select AutoPlay, AutoPlay Speed and AutoPlay Timeout.
Our Services
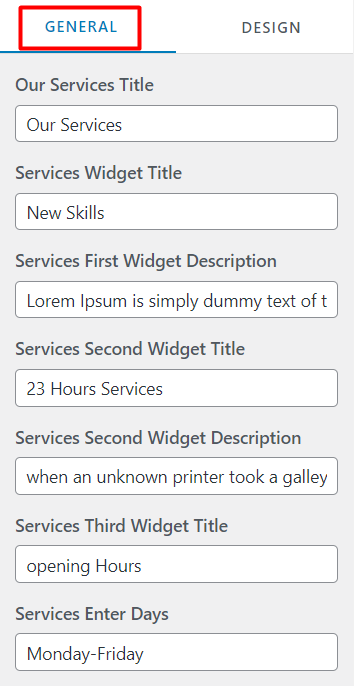
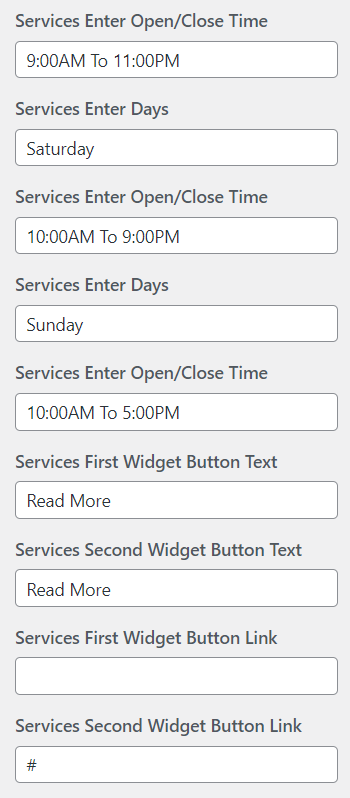
Step 1. Go to Dashboard >> Appearance >> customize >> Theme Option>> Our Services
Display blog wise services.
Customize services title, content button text.
Add your business address, contact info.
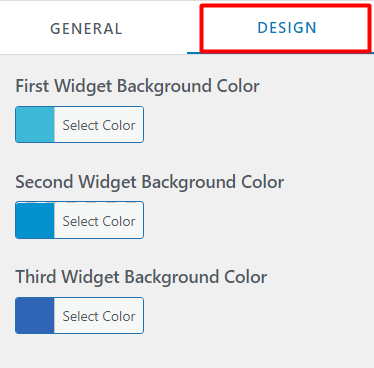
Select first ,second and third services widget background color.
Funfact Section
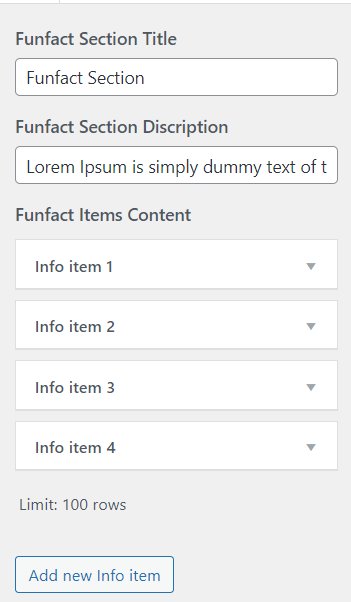
Add Funfact Title And Description.
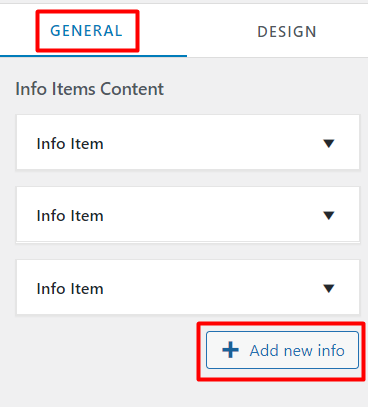
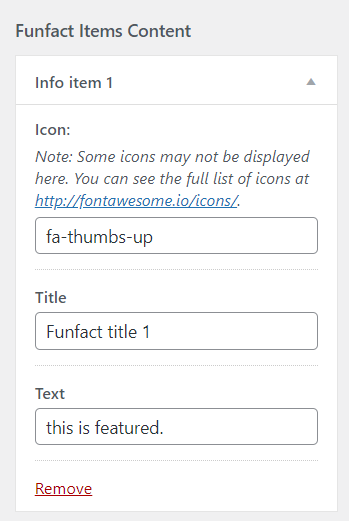
This Info Item is draggable.
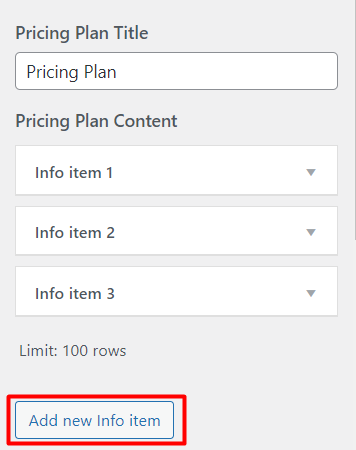
Add New Info on click add Info Item.
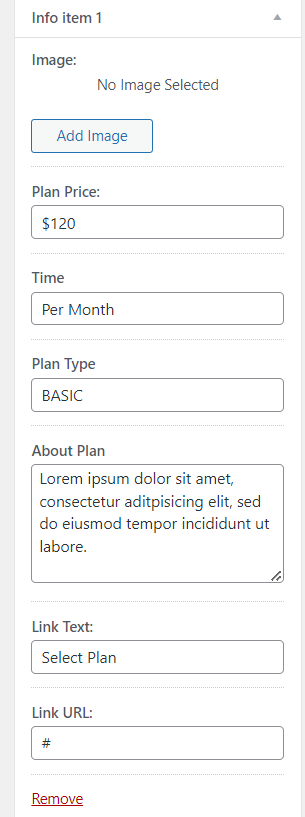
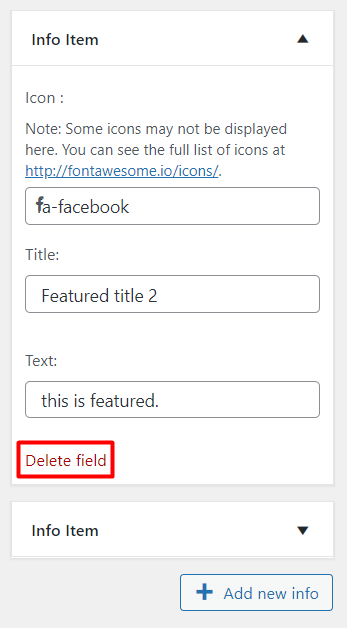
Add Info Item in icon, title, description.
Delete field on click Info Item is delete.
NOTE : Free Version in No. of section Maximum 4 and Pro Version in Multiple No. of Section.
Step 1. Go to Dashboard >> Appearance >> customize >> Theme Option>> Funfact Section